Rotapoint Systems LLC
CROSSFIX®️
CROSSFIX®️
Couldn't load pickup availability
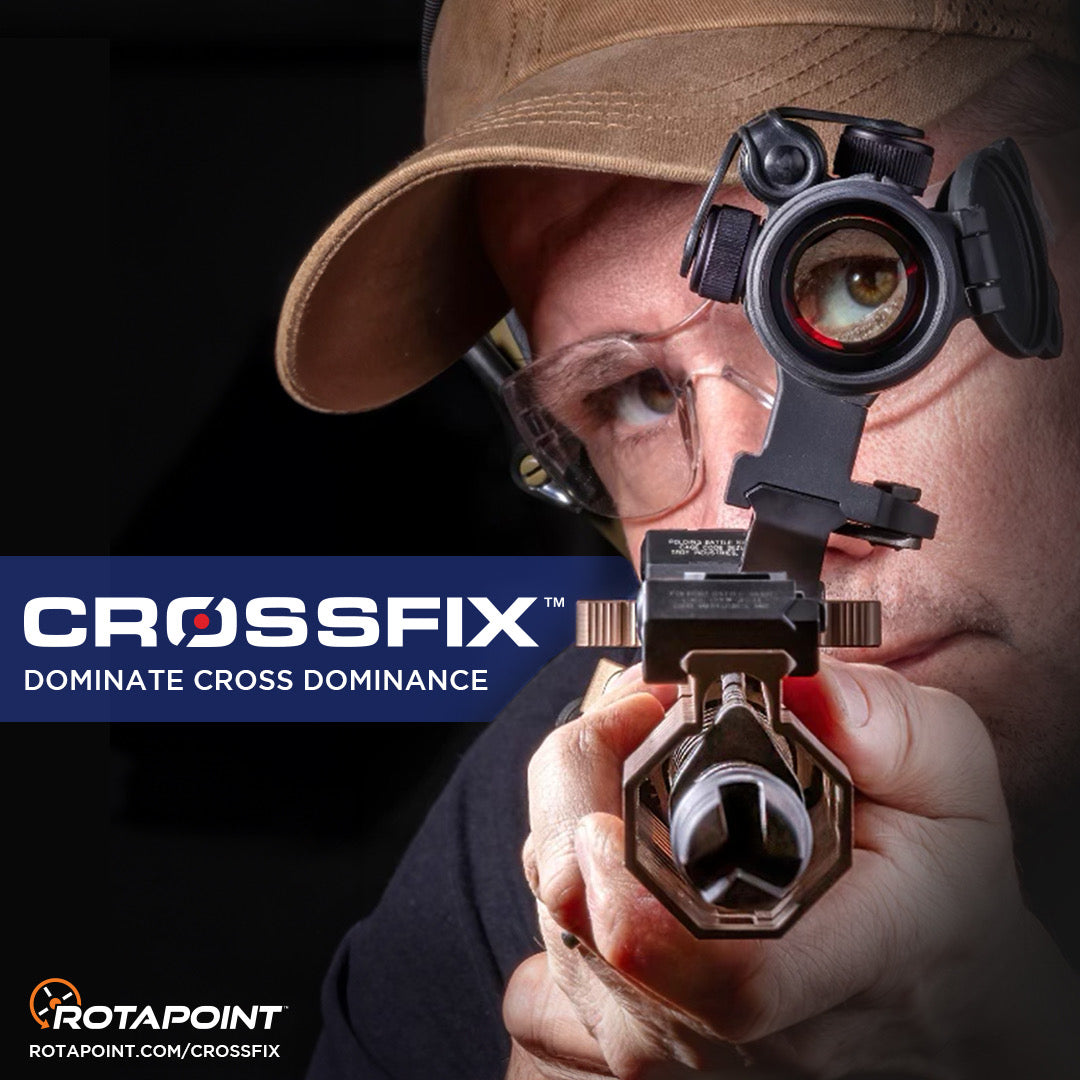
Geometry and efficient biomechanics fix a common physiological issue.
If you are like 15% of the population- right-handed but you are left eye dominant (or vice versa), you’ve likely been fighting your natural sight alignment—leading to inconsistent cheek weld, one eye closed, awkward head position, reduced trigger dexterity, and slower target acquisition. Focusing on a small portion of a target with the non-dominant eye cripples speed, situational awareness, and depth perception.....critical in a stressful, defensive event involving firearms.
CROSSFIX®️ solves that problem. Cross-dominance isn’t the issue— optic placement is.
Instead of forcing your head to adapt to the rifle, it aligns the optic with your dominant eye—so you can shoot easily with both eyes open from either shoulder.
Field-Proven Performance
“I went to the range with an Aimpoint M2, Micro T-1, and EOTech XPS and had great success… impressed with how robust and simple of a solution Crossfix is.”
— Guns & Ammo, AR-15 Magazine, 2025 Issue No. 3
How it works
Mount Crossfix to your upper receiver and position the optic toward your dominant eye side. From there, you can:
- Maintain a natural stance and cheek weld
- Shoot with both eyes open
- Either slightly cant the rifle inward or adjust head position minimally for alignment
Bore concentric with standard M4-height upper geometry.
Configurations
Mk1 (1.54” equivalent sight height)
- Standard optic height feel
- Ideal for Aimpoint-style setups
- Weight: 2.4 oz
- Shown with Aimpoint in product images
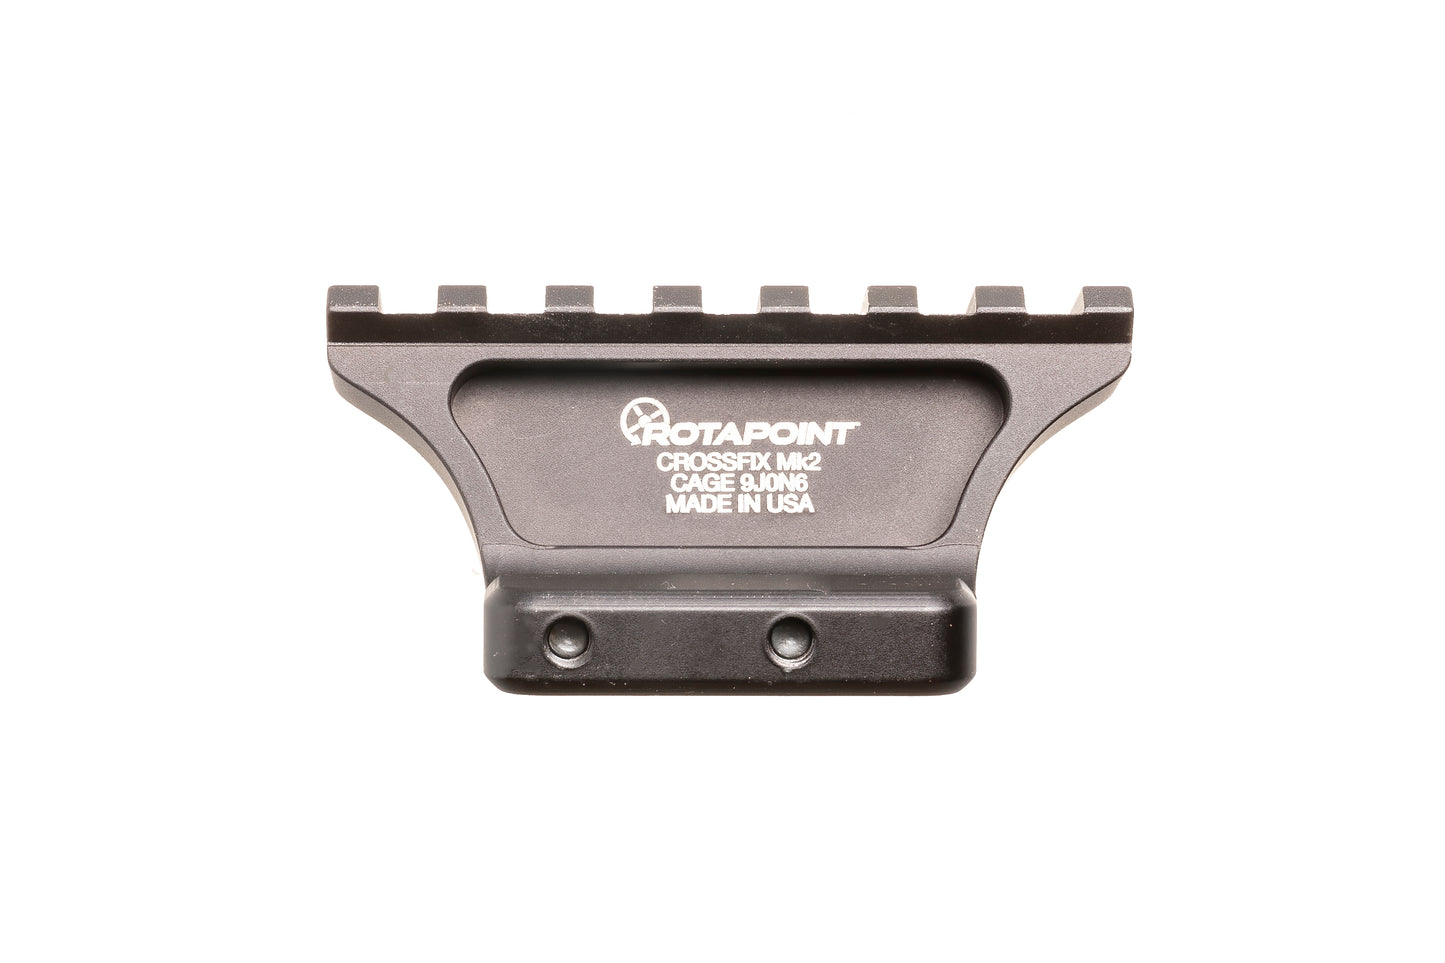
Mk2 (1/4” taller than Mk1)
- Slightly elevated for a more upright posture
- Weight: 2.6 oz
- Shown with EOTech in product images
Zeroing Options
- Lateral offset zero
- Converging zero (for specific engagement preferences)
Compatibility
- Reversible for left- or right-eye dominance
- 7-slot optic interface (uses 4 upper receiver slots)
- Compatible with Trijicon ACOG
- See LPVO notes below.
Construction
- 7075-T651 aircraft aluminum
- Type III hardcoat anodized (black)
- Made in USA
Range Validation
50-yard zero test using Crossfix Mk1 on Colt 6920 with Winchester M193:
- 50% size IPSC at 100 yards
- 66% size IPSC at 200 yards
- No lateral point-of-impact shift observed
- Rifle stabilized on bipod during testing
RECOMMENDED ZEROING PROCEDURE FOR CROSSFIX™ OPTIC RISER
Our Crossfix™ riser is designed specifically for cross-dominant shooters, where the dominant hand and dominant eye are on opposite sides. It places the optic on your dominant-eye side of the rifle, allowing a natural shooting position with your dominant hand while aligning the sight picture with your dominant eye.
INSTALLATION
- Attach the Crossfix Mount to the dominant-eye side of your rifle's upper receiver.
- Torque the mounting screws to 25 inch-pounds using a high-quality 5/32" hex bit. Apply gradual tension back and forth on both screws.
- Apply firm downward and forward (toward the muzzle) pressure while tightening to ensure proper seating.
- We recommend using VC-3® threadlocker (preferred), or blue or purple Loctite®.
- Apply sparingly to screw threads—only as much as needed for secure hold. Allow VC-3 to fully dry and cure for 24 hours before threading.
- Install your optic onto the Crossfix riser.
- Press the optic downward and toward the muzzle while tightening the optic's screws to manufacturer-specified torque.
ZEROING AT THE RANGE To achieve an accurate zero, level the optic (not the rifle) during the process. This compensates for the mount's offset and ensures adjustments align properly.
- Stabilize the rifle (using a bipod, bag, or similar) and cant (tilt) the rifle so the optic is level.
- The upper receiver will angle slightly inward toward your non-dominant eye.
- The optic will sit directly above the bore when leveled.
- You may need to fire using your non-dominant hand during this zeroing phase.
- At your chosen zero distance (e.g., 50 meters, 36, 50, 100 yards, etc), adjust the optic normally:
- Windage — horizontal (left/right) adjustments.
- Elevation — vertical (up/down) adjustments.
Fire 5-round groups, confirm point of impact, and adjust as needed.
NORMAL SHOOTING (CROSS-DOMINANT POSITION)
- Hold the rifle level in your natural, comfortable shooting stance (dominant hand on the grip/trigger).
- Grip the handguard with your non-dominant hand and press the trigger with your dominant index finger.
- Acquire the target using your dominant eye, preferably with both eyes open.
- The optic will appear tilted when the rifle is level—this is normal and intentional.
- This positions the reticle directly in line with your dominant eye for fast, natural target acquisition.
- When switching shoulders, continue using your dominant eye (the mount works reversibly).
QUICK REFERENCE SUMMARY
- Zeroing & non-dominant hand shooting: Rifle canted (tilted), optic level.
- Dominant-hand shooting: Rifle level, optic canted (tilted).
LPVO USE - with 7 slots, CROSSFIX is compatible with the following mounts, such as Badger C1, Vortex/Seekins CM-534, and SIG SOG20014
Not compatible with mounts requiring 8+ slots.
LPVO users may be able to rotate the optic within the mount to maintain reticle orientation with a slight rifle cant.
IMPORTANT SAFETY PRECAUTIONS
- Always treat every firearm as if it is loaded.
- Never point the muzzle at anything you are not willing to destroy.
- Keep your finger off the trigger and the safety engaged until your sights are on target and you are ready to fire.
- Be absolutely certain of your target and what lies beyond it.
- Follow all standard firearm safety rules and local laws.
CROSSFIX and ROTAPOINT are registered trademarks with USPTO
© 2025 ROTAPOINT SYSTEMS LLC